#Recipe #Foody
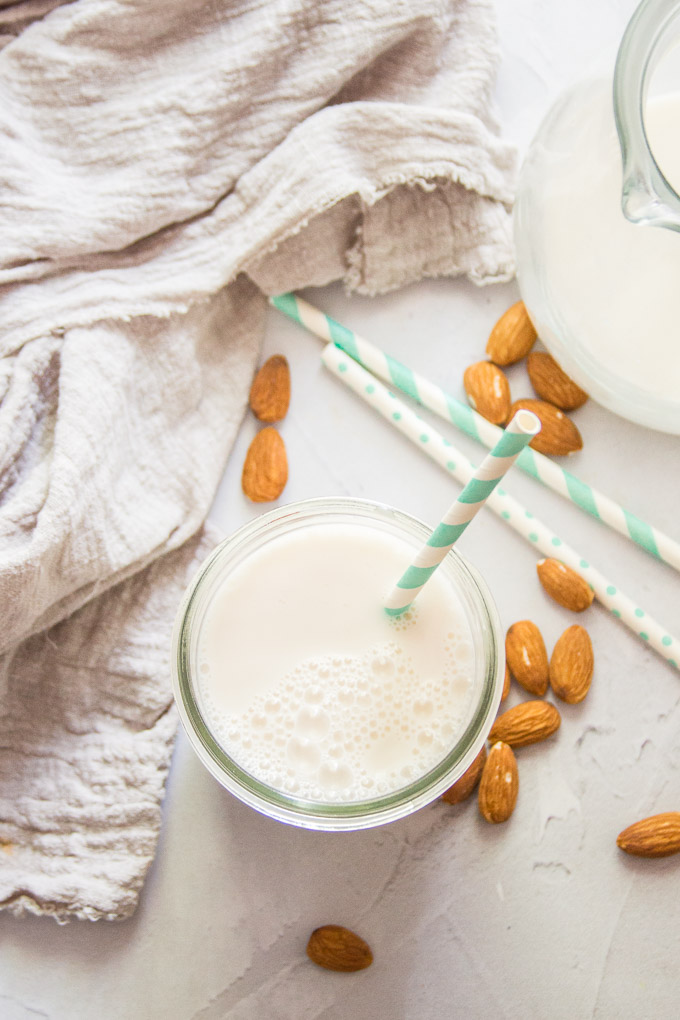
Learn how to make almond milk with two simple ingredients! This stuff is creamy, delicious, and super easy to whip up.

People sometimes look at me like I’m nuts when I tell them I make my own almond milk. As if it’s so ambitious and must be so much work and wow, I didn’t realize you were such a big hippie!
Well, let me tell you, none of that is true. In fact, I’m pretty darn lazy and making almond milk is very easy. Easier, to me, than lugging cartons of almond milk home from the supermarket, which is a personal pet peeve of mine. Almonds are way lighter than almond milk and water comes out of the faucet (but make sure you filter it if you use tap water to make your almond milk!).
Just to prove to you how lazy I am, today I’m going to share with you my method for making your own dairy-free milk from almonds. Maybe you’ll try it and become as big of a slacker as I am!
Here’s my easy peasy tutorial on how to make almond milk.
Almond Milk Ingredients
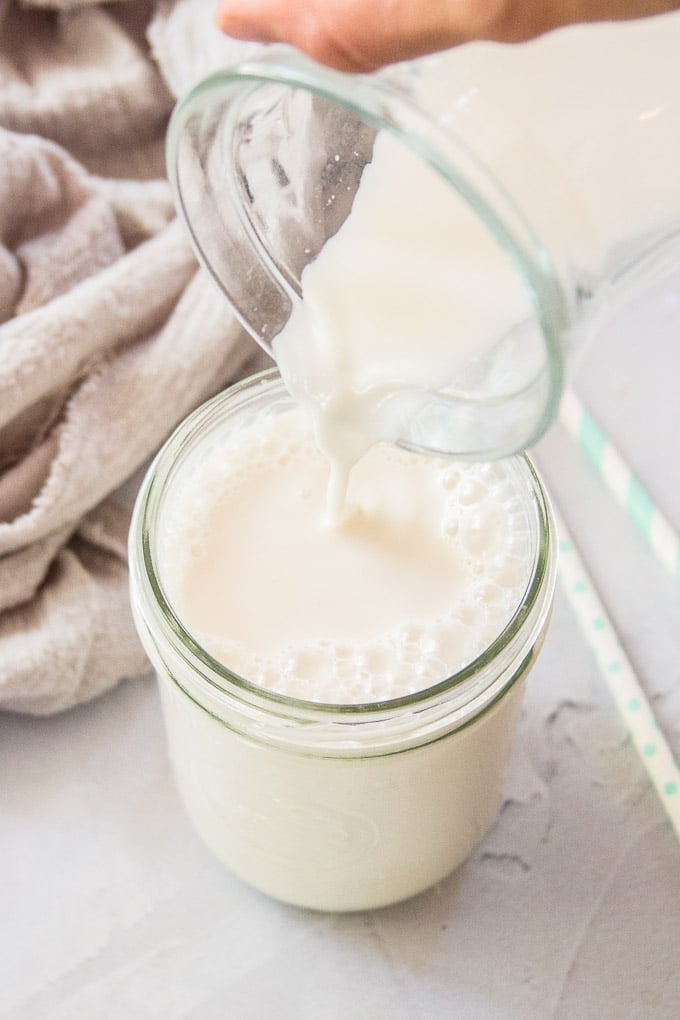
You only need two ingredients!
Almonds. Obviously. Make sure to use raw almonds (not roasted) for the creamiest almond milk with the cleanest flavor.
Water. Because we need some kind of liquid!
If you want to add some flavor, you can do that with a few extra ingredients.
Sweetener. I like to add maple syrup to my almond milk after making it, but pretty much any type of sweetner works. You can also add a couple of dates before blending the almonds.
Vanilla. A teaspoon or so of vanilla extract will give your milk a nice vanilla flavor.
Chocolate. Add some cocoa powder for chocolate almond milk.
Equipment
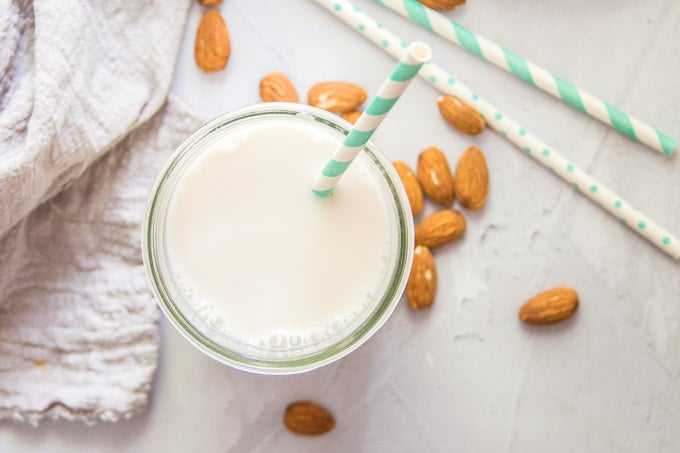
Blender. It doesn’t have to be a super high-powered one. I use an older model Ninja for this recipe.
Nut milk bag. This is a small, tightly woven bag that you’ll use to strain the almond pulp out of your milk. This is the one I currently use.
Bowl or pitcher. Something large enough to catch all of your milk after straining it through the bag.
How to Make Almond Milk
This is done in three simple steps, and the active work takes all of about ten minutes.
Soak the Almonds
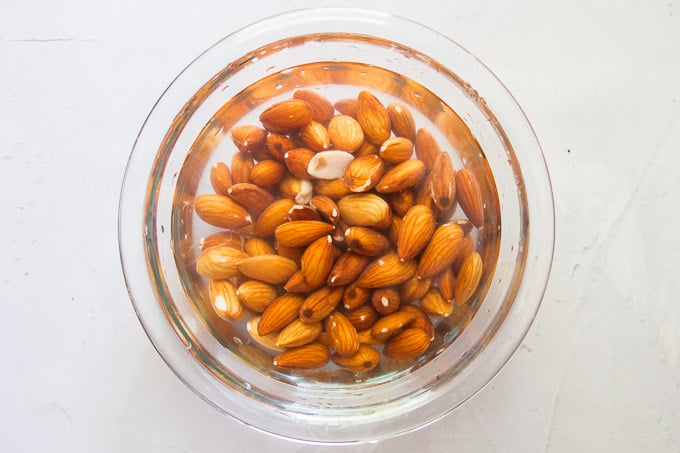
Place the almonds in a container and cover them with a couple of inches of water, taking into account the fact that they’ll expand in size as they soak.
Soak your almonds for 8 to 12 hours.
In a rush? You can boil your almonds in water for 20 minutes instead of soaking them, but they won’t soften up quite as much, so your milk might end up a tad less on the creamy side.
Blend the Almonds
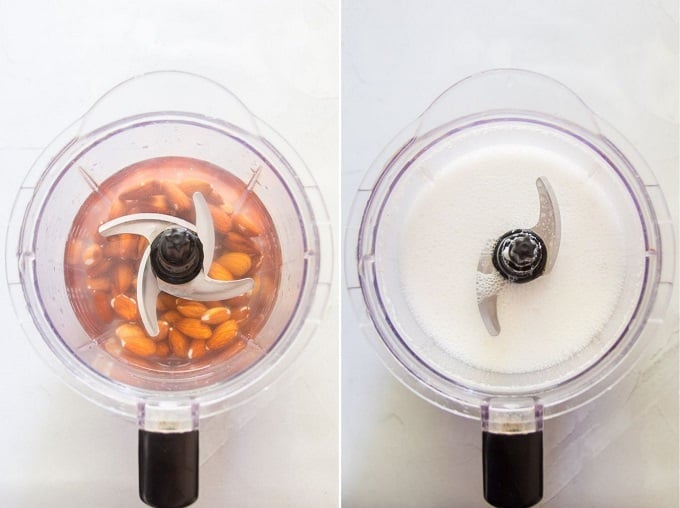
Place your almonds into your blender with some water. I like to use 1 cup of almonds and 3 cups of water, but play around with the ratios to get a consistency that’s right for you.
Blend them up! I like to let the blender run for about a minuet to make sure the almonds are well blended. You can probably get away with a quicker blend if you’re using a high-powered device.
Strain Out the Pulp
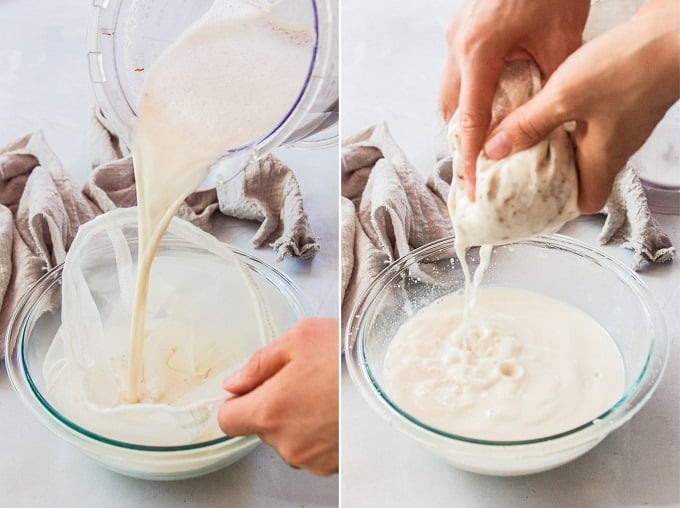
Now grab that pitcher or bowl and your nut milk bag. Set the bag in your vessel and open it up as best you can. Pour your almond mixture into the bag — the liquid that comes through it is your milk! Now pick up the bag and squeeze it to get every last bit of milk out.
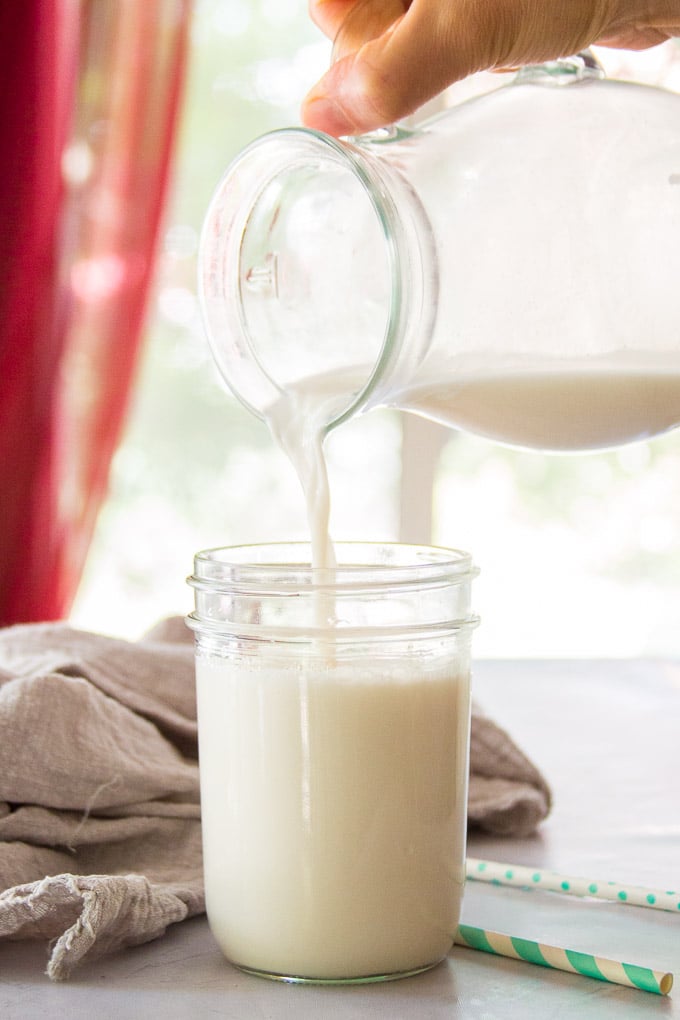
Drink up, or chill for later!
Homemade Almond Milk FAQ & Tips
- How long does homemade almond milk keep? Because it’s made without additives, homemade non-dairy milk doesn’t last quite as long as store-bought. For best results, store it in a sealed container in the fridge. It should last for about 5 days.
- Your milk will separate while it sits in the fridge. This is totally normal and I haven’t found a way to avoid it. Simply stir it back together before serving.
- If you’re always forgetting to soak your almonds, soak a bunch and freeze them! You’ll want to freeze them right in the soaking water, then when it’s time to make nut milk, thaw, drain, rinse, and proceed as if they’re freshly soaked.
- You’ll end up with some almond pulp as a by-product of this recipe. Put it to good use!
- Make almond flour. Dry your pulp out in the oven or a dehydrator, then blend it to a powder and use it in recipes that call for almond flour.
- Make almond pulp crackers.
- Make energy bites.
- Put it in a batch of granola.
- Is this almond milk gluten-free? It is!
- Need some ideas on how to use almond milk?
For more guidance, check out my video!
Like this recipe? If so, be sure to follow me on Facebook, Pinterest or Instagram, or subscribe to my newsletter. And please stop back and leave me a review and rating below if you make it!
Almond Milk

Learn how to make almond milk with two simple ingredients! This stuff is creamy, delicious, and super easy to whip up.
- 1 cup raw almonds
- 3 cups water, (plus extra for soaking)
-
Place the almonds into a medium bowl and cover them with a couple of inches of water.
-
Allow the almonds to soak overnight, for 8 to 12 hours.
-
Drain the almonds and rinse them.
-
Place the almonds into a blender with 3 cups of water.
-
Blend until the almonds are very finely chopped and the liquid looks milky. I recommend letting the blender run for 1 to 2 minutes to achieve this.
-
Gather a bowl or wide-mouthed pitcher and place a nut milk bag inside with the opening facing upwards and as wide open as you can get it.
-
Carefully pour the almond mixture into the bag.
-
Allow the liquid to drain through the bag, then squeeze the bag to extract any excess liquid from the blended almonds.
-
Use your almond milk immediately, or transfer it to a sealed container and refrigerate for up to 5 days.
The post How to Make Almond Milk appeared first on Connoisseurus Veg.
Recipe
via https://www.DMT.NEWS
Alissa Saenz, Khareem Sudlow
- Share:


0 comments